Hip Arthroscopy Phase 1: the operation & immediate after care
The Operation
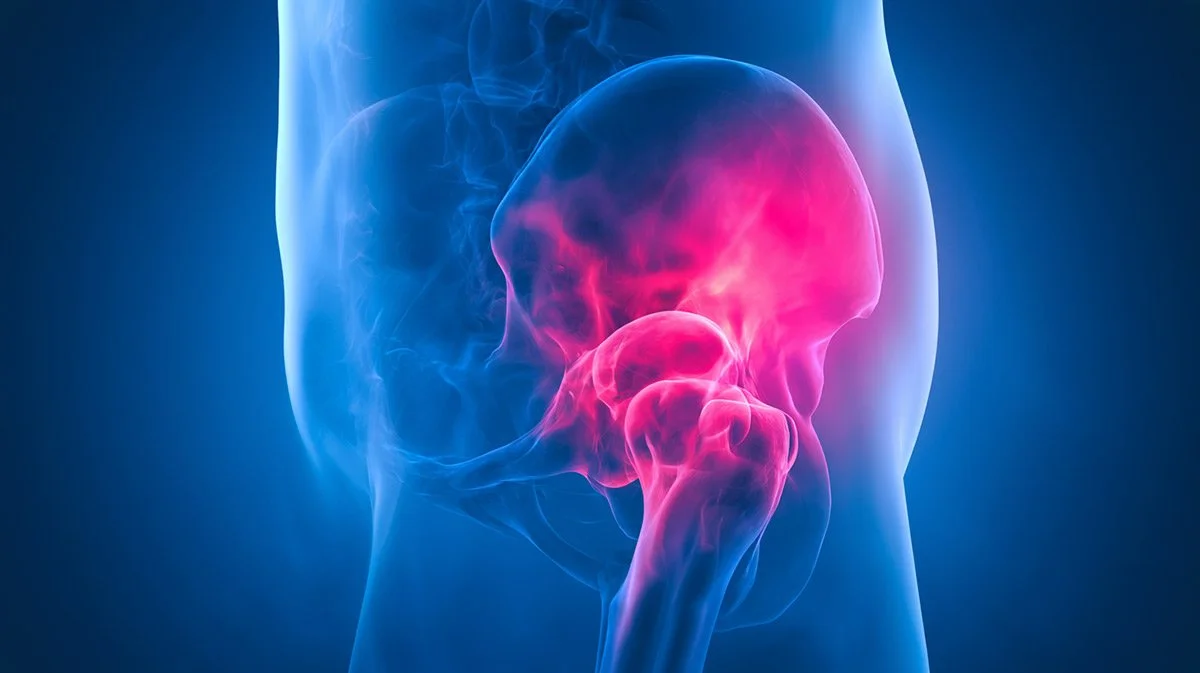
What is Hip Arthroscopy?
Arthroscopy is keyhole surgery. A camera is used to look inside your joint and micro instruments are used to treat damaged tissues. To do this effectively the surgeon will use traction (a pulling force) to distract the hip out of joint, creating a 1 to 2 cm space between the ball and socket joint to work within. To perform the operation, the surgeon will make small skin cuts (2cm incisions) through which a camera and instruments are introduced. During the operation we also pass water into the joint which can cause thigh swelling for a 2 to 4 four weeks and use X-rays to guide us.
The surgery is done through small incisions (usually 2–4), using a camera called an arthroscope.
Joint access & traction: The patient is positioned (often on a traction table), and the leg is gently pulled to create space in the joint. This allows instruments to enter without damaging cartilage.
Camera insertion: A small camera is inserted into the hip joint, projecting images onto a screen.
Fluid irrigation: Sterile fluid is pumped into the joint to expand the space and improve visibility.
Specialised instruments: Through additional small incisions, the surgeon inserts tools to perform repairs. Depending on the issue:
Labral repair: Torn cartilage (labrum) is stitched back to the socket using anchors.
Bone reshaping (FAI): Excess bone on the femoral head or acetabulum is shaved down to improve joint movement.
Cartilage treatment: Damaged cartilage may be smoothed or treated (e.g., autocart implant or microfracture to stimulate healing).
Loose body removal: Fragments of bone or cartilage are removed.
Closure: Instruments are removed, fluid is drained, and the small incisions are closed with stitches.
The procedure typically takes 1–2 hours, though complex cases can be longer.
-
Post-operative symptoms vary, but several things are expected:
Pain and soreness: Usually moderate and controlled with medication.
Swelling and stiffness: Common in the hip and sometimes down the thigh.
Limited mobility: Crutches are often needed initially (anywhere from a few days to several weeks).
Clicking or tightness: Can occur early on as the joint settles.
Fatigue: General tiredness is common after surgery.
You’ll usually start physiotherapy within a week or two, focusing on gentle movement, muscle activation, gait retraining then gradually rebuilding strength and stability.
-
Recovery depends on what was done inside the joint, but typical timelines look like this:
First 1–2 weeks:
Pain and swelling gradually improve
Begin light physiotherapy (ROM and muscle activation)
Weight-bearing with crutches for stability
3–6 weeks:
Increasing range of motion
Transition off crutches
Start motor control exercises
6–12 weeks:
Improved walking and daily activity
progressive rehab (early strength work, balance, stability)
3–6 months:
Strength training
light jogging (if symptoms allow)
Return to most normal activities
Progress to Power, speed and endurance work
Light sports may resume
6–12 months:
Full recovery, especially for high-impact sports
-
Recovery isn’t one-size-fits-all. It depends on:
The specific procedure (simple clean-up vs. labral repair or bone reshaping)
Your age and baseline fitness
Adherence to physiotherapy
Presence of arthritis or other joint damage
-
While discomfort is normal, you should flag:
Severe calf pain or swelling (possible clot)
Increasing severe pain instead of improvement
Signs of infection (fever, redness, discharg
-
The main aim following surgery is to manage pain (ensure adequate pain relief) and reduce the risks of post-operative complications, to ensure an optimal outcome post surgery. There may be specific post operative restrictions set by your consultant, depending on what was done during your procedure.
Your physiotherapist will have you up and moving on the day of surgery and you will be encouraged to walk with a normal gait pattern, using elbow crutches, ensuring that you are safe to go home. They will also start you on an exercise program to initiate movement of the hip and begin low level muscle activation exercises of your core and operated leg.
Level 1: Movement Exercises
Phase one following a hip arthroscopy focuses on protecting the surgical repair while allowing the hip joint to move safely and naturally. Early movement is important to reduce stiffness, prevent adhesions and minimise scar tissue formation. These exercises will help you move in a safe and controlled manner and prepare you for what is to come, as you wounds heal and you get ready to return to normal activities.
| Exercise | Repetitions | Sets | Frequency |
|---|---|---|---|
| Hip flexion | 10–15 | 3 | 2–3 x a day |
| Hip abduction | 10–15 | 3 | 2–3 x a day |
| Bent knee fall out | 10–15 | 3 | 2–3 x a day |
| Hip flexion standing | 10–15 | 1 | 2–3 x a day |
| Hip abduction standing | 10–15 | 3 | 2–3 x a day |
| Hip extension standing | 10–15 | 3 | 2–3 x a day |
| Single leg balance | 10–60 seconds (use pain as a guide) | 3 | 2–3 x a day |
Hip flexion
Hip abduction (movement)
Bent knee fall out
Hip flexion (standing)
Hip abduction (standing)
Hip extension (standing)
Single leg stand