Ankle Fractures
The Ankle
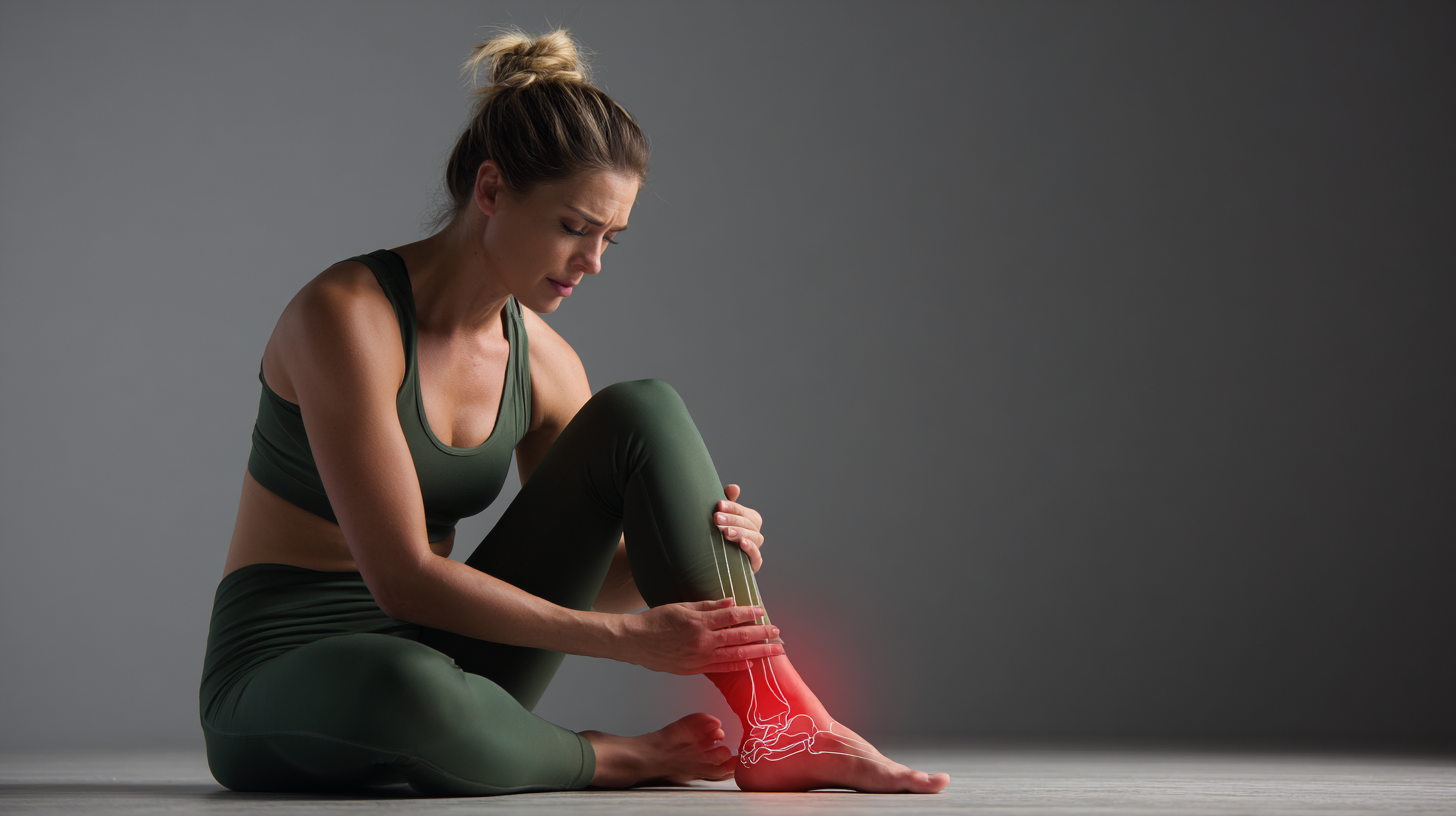
Unfortunately you have fractured your ankle. But do not worry. By using a modern scientific exercise approach, we will guide you through each step on your return to normal activities.
The ankle joint is made up of three bones: the lower end of the tibia (shinbone), the fibula(the small bone of the lower leg), and the talus (the bone that fits into the socket formed by the tibia and fibula). The talus sits on top of the calcaneus (the heel bone). The talus moves mainly in one direction. It works like a hinge to allow your foot to move up and down.

Ligaments on both sides of the ankle joint help hold the bones together. Many tendons cross the ankle to move the ankle and the toes. (Ligaments connect bone to bone, while tendons connect muscle to bone.)
The large Achilles tendon at the back of the ankle is the most powerful tendon in the foot. It connects the calf muscles to the heel bone and gives the foot the power for walking, running, and jumping.
What is a fracture?
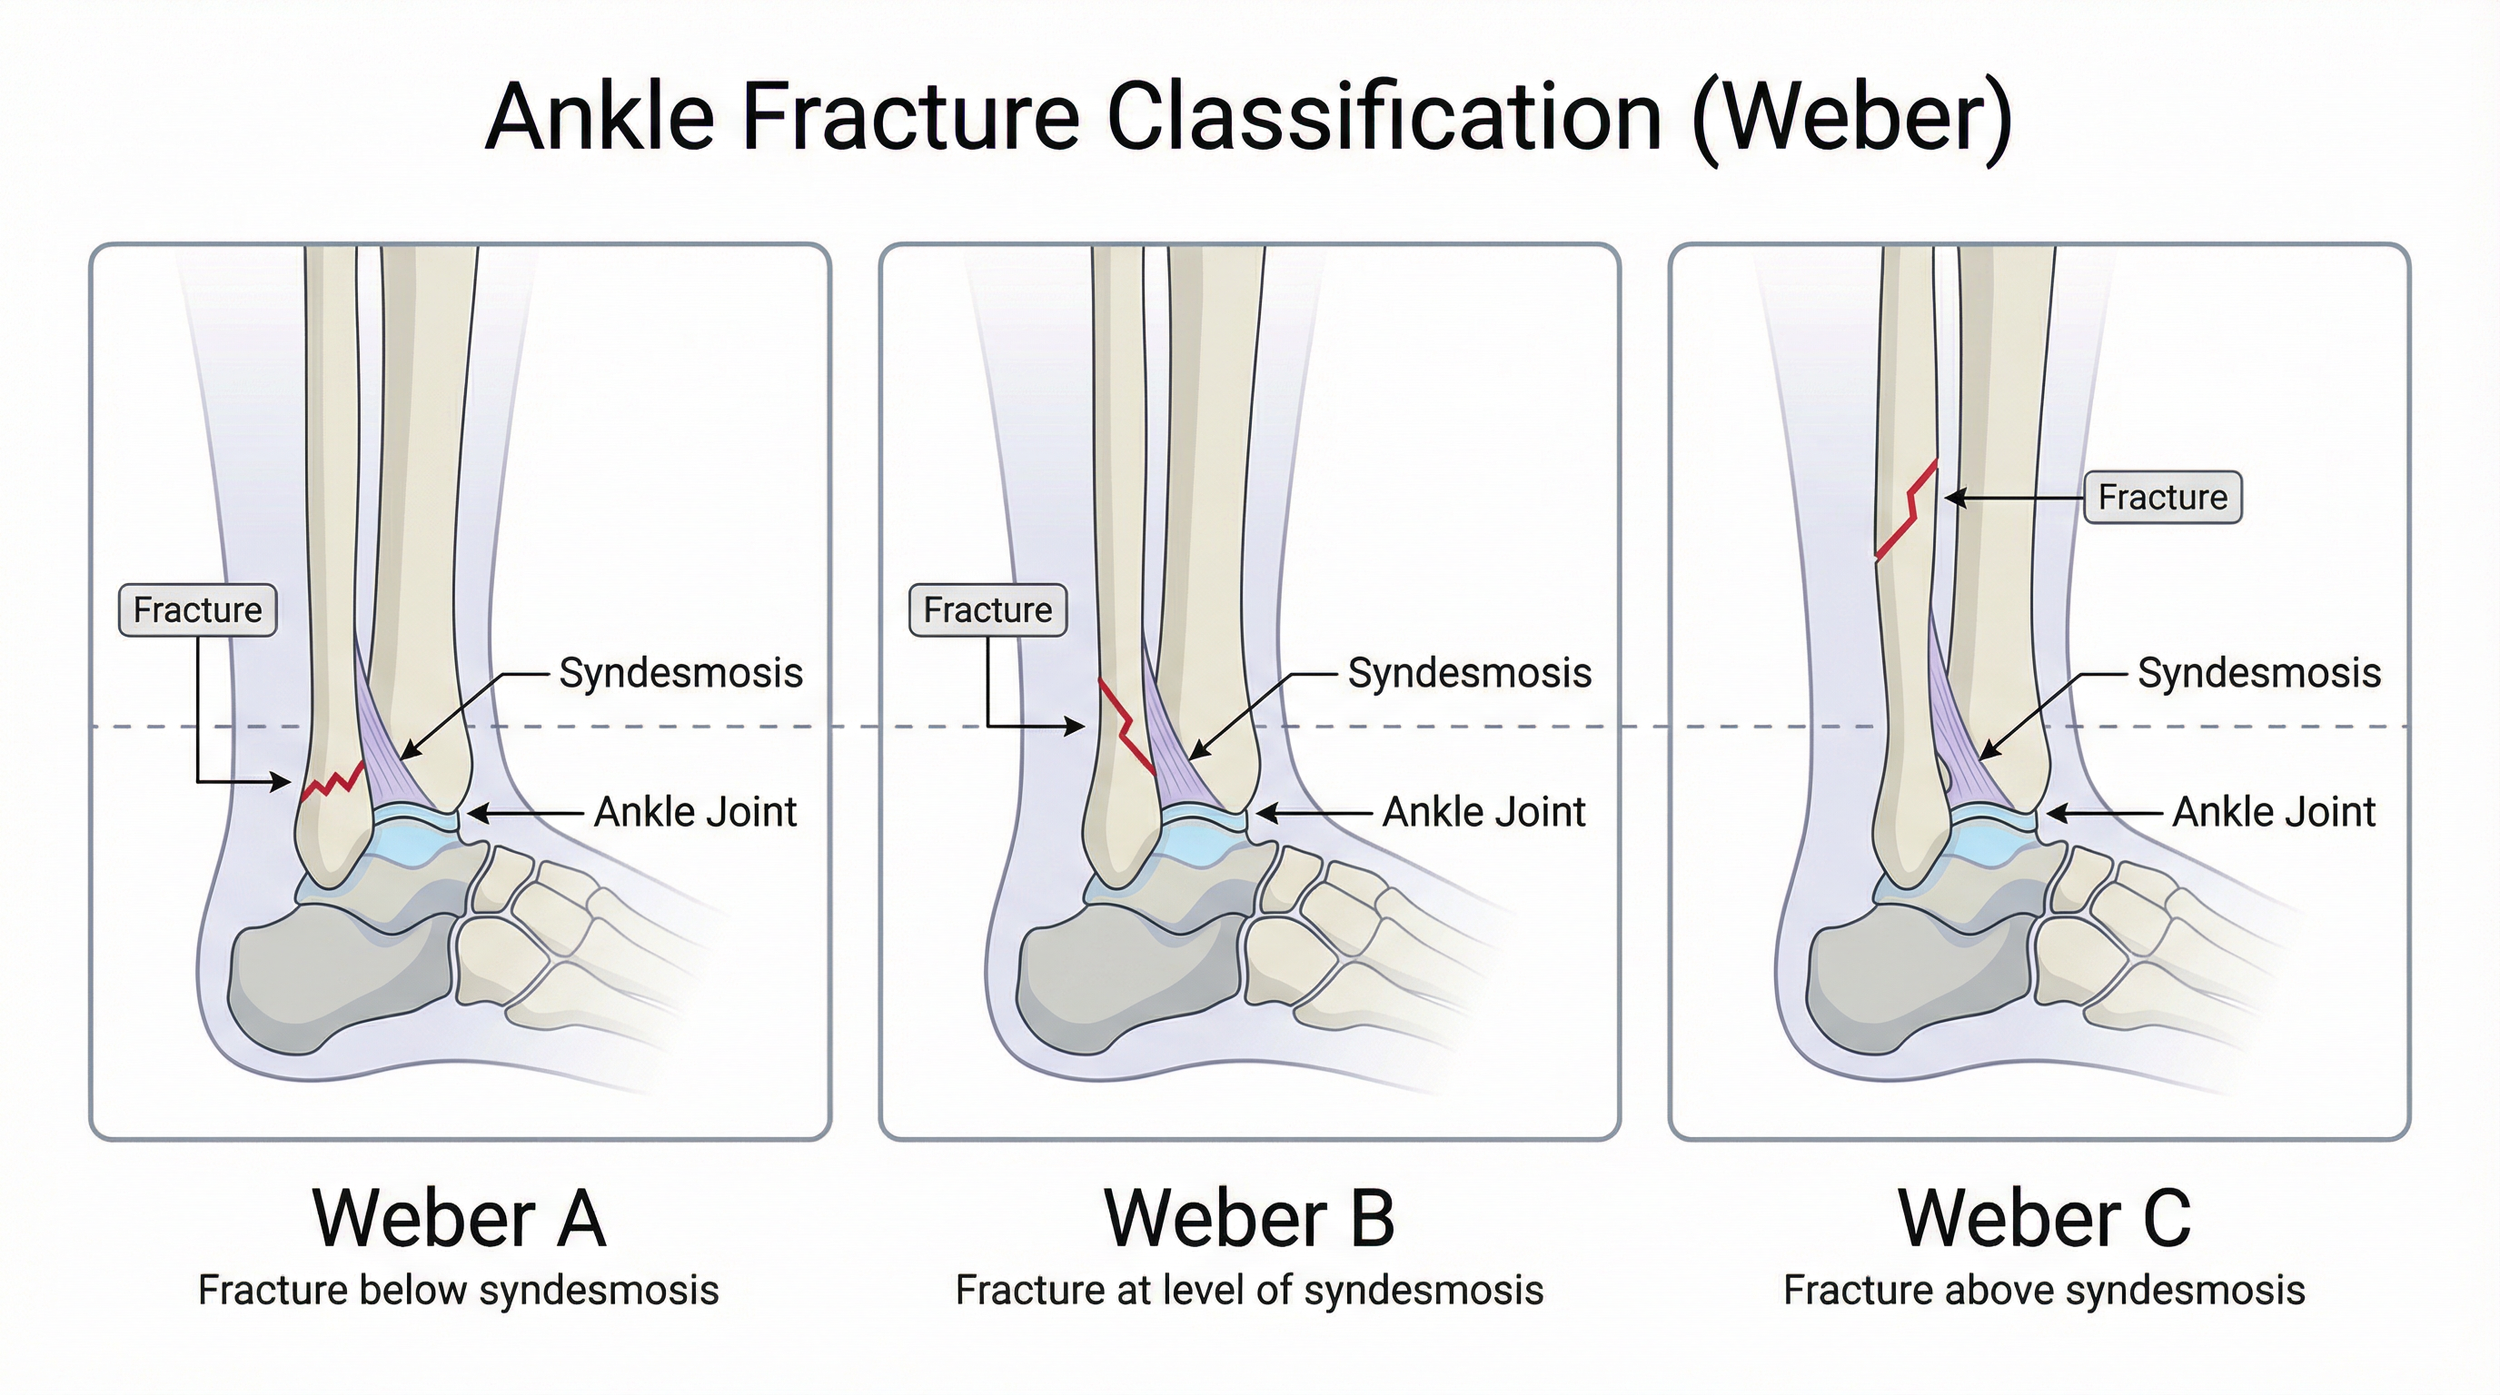
A fracture is also known as a bone break. There are various types of these at the ankle depending on where and which bones are involved. The most common part to be affected is the outside of your leg on the fibula bone and these fractures are referred to as Weber A, B or C depending on where the fracture is.
How is it treated?
Most fractures will heal themselves but do need a period of protected immobilisation to allow this healing to occur.
Treatment depends on where and which bones are affected, and the amount of disruption there is to joint stability. If there are many fragments or it causes joint instability, surgery may be performed to wire/plate/pin the bones together to improve healing. This is sometimes followed by a period in a plaster cast.
If the break is small or well-aligned, surgery may not be required. Often your ankle will be immobilised in a plaster cast or boot for six weeks or more.
The cast or boot will immobilise the joint and allow bones to heal. It is likely you will be given crutches to walk with, although the amount of weight you can put on the leg will vary between each person, depending on your fracture.
When your consultant thinks you are ready the plaster cast will be removed and you can then start to move your ankle.
What happens afterwards?
Once the cast is removed, it is normal for your ankle to feel stiff and painful when moving. This is because your ankle has been immobilised and is not used to moving. As you start to move the joint again with the physiotherapists and at home (through exercise) this pain will reduce. On some occasions the cast may be replaced by a boot for a period of time, to provide support but allowing you to start exercising the joint.
Your skin may be dry and flaky, however, you may find that soaking your foot and ankle in warm water helps to reduce the pain and makes moving your ankle easier. Massaging your foot and ankle with plain moisturiser or body lotion may also help with the flaky skin and make your foot more comfortable to complete your exercises.
It is very important that pain, swelling, stiffness and strength are addressed following the removal of the plaster. All of these issues should be addressed with your physiotherapist, as you return to your normal activities.
Pain Management
Fractures can be most painful when you start moving the joint after periods of immobilisation. This is normal but should reduce as the joint flexibility increases. Your doctor can prescribe you painkillers, and taking these regularly, as advised, will help you to manage the pain.
If your pain becomes severe, constant or you have a hot, red, swollen calf you should contact your GP or consultant.
After an injury you may have heard about RICE (rest, ice, compression and elevation) when managing an injury. However, rest can be harmful and inhibits recovery. Recent research has now advised that we use the acronym POLICE.
Protection
Optimal-Load
Ice
Compression
Elevation
The key term is Optimal-load, this replaces Rest. You may need to speak to your physiotherapist to discuss what your optimal load might be as it is specific to you but will help speed up your recovery process.
Reducing Swelling
Following any form of ankle fracture it is normal for there to be swelling for up to and over one year after. Swelling can reduce your ability to fully move your ankle and make it uncomfortable walking. It is key you follow POLICE to reduce swelling by:
ELEVATION: of your affected ankle by sitting with your leg raised up above the level of your heart
ICE: Place a wet tea towel directly over your skin, and then ice on top of the towel. Keep this in place for 10- 15 minutes, checking to make sure that your skin has not become very red. Repeat this up to 3 times a day.
The Exercises (Movement, strength & function)
Participating in an exercise program carries a certain element of risk for some people. You should consult with your physiotherapist before initiating this program to ensure your safety.
If you have any issues please do not hesitate to contact the physiotherapy department. If you feel light headed, dizzy or have issues with your breathing please contact your general practitioner (GP) immediately.
When carrying out this exercise program you may feel some discomfort at your ankle. It is important that the pain does not exceed 3/10, where 10/10 is the maximal and 0/10 is no pain.
Restricted Weight bearing stage: When in your protective boot you can still move your ankle and try some light muscle activation achieving Optimal load.
Level One: Range of Movement & muscle activation
The main aim after any injury is to regain full movement of the affected area. This can be achieved through various stretches using pain as your guide. Dorsiflexion (or the upward movement of your ankle) is the most important as it allows us to walk, stand from a chair and squat normally. By activating the muscles in a way that does not irritate the affected area is a form of optimal load and will help with returning to normal activity.
Dorsiflexion on step
Place your affected foot on a step and transfer your weight over your foot achieving dorsiflexion.
Hold for 5 seconds and repeat 15 times. To do this as a stretch hold longer for 30 seconds and repeat 3 times
Knee to wall
Facing a wall or mirror, stand so that your toes are making contact.
Lunge forwards to see if you are able to get your front knee to touch the wall or mirror without lifting the heel off the ground.
If you manage a knee touch and the heel stays on the ground, move yourself a little further away from the wall and try again. Make sure your lunging knee travels directly forwards over the centre toe.
Make a note of the maximum toe-to-wall distance achieved on that ankle (e.g. place a block) and then swap legs over to repeat the test for the other ankle at that distance.
To do as an exercise. Hold for 5 seconds, repeat 15 times
Calf stretch
Stand near a wall with one foot in front of the other, front knee slightly bent. Keep your back knee straight, your heel on the ground, and lean toward the wall. Feel the stretch all along the calf of your back leg.
Hold this stretch for 30, repeat 3
Soleus stretch
Stand near a wall with one foot in front of the other, front knee slightly bent. Bend your back knee, keep your heel on the ground, and lean backwards with your bottom over your back heel. Feel the stretch all along the deep part of your calf at the back leg.
Hold this stretch for 30, repeat 3
Isometric Plantar flexion over step in neutral
Stand on a step with your heels just over the edge and slight tension on the calf muscles. Repeat with your leg straight and knee slightly bent.
Hold for 30 – 45 seconds, repeat 3 – 5 times
Single Leg Stand
Proprioception is extremely important in regaining ankle stability and reducing the risk of re-injury.
Stand on one leg with your arms crossed and turn your head left and right. To make this more challenging, speak the days of the week out loud or close your eyes.
Time this for one minute and repeat 3 times
Level 2: Progressions
Dorsiflexion on step with band distraction
Stand near a wall with one foot in front of the other, front knee on a step facing directly forward. Place a band around the talus – at the crease just above where the foot and lower leg meet. Stand on the back of the band or attach to something very stable to ensure tension is applied across the front part of the ankle. Keep your back knee straight, your heel on the ground, and push your front knee towards the wall
Hold this position at the end of range for 2 – 5 seconds and repeat 20 – 30 times.
Try to go further each time.
Squat and shift load *
In a full squat position with your back straight, transfer your weight side to side with your heels down and encouraging increased dorsiflexion. Hold on each foot for 2 – 5 seconds.
Repeat 15-25 times, completing 3 sets
Runner mobilisation/stretch *
In A press-up position or as comfortable with your hips elevated. Drop your heel to the floor one at a time and bending the other knee, feeling a stretch at the back of the calf.
Hold this stretch for 3-5, repeat 15 times
Isometric inversion/eversion
In a comfortable position, situate your affected foot beside a stable object and push against that object by turning your foot outwards
Hold for 30 – 45 seconds, repeat 3 – 5 times
Double leg Heel Raise: calf/soleus
Holding onto a stable surface with 2 fingers for support, push up onto your tip toes and hold this position for 2 – 3 seconds then return to start. Repeat with knees bent to activate the soleus.
Repeat 15-25 times, completing 3 sets
Single Leg Stand on unstable surface
On an unstable surface like a pillow or wobble pad. Stand on one leg with your arms crossed and turn your head left and right. To make this more challenging, speak the days of the week out loud or close your eyes.
Time this for one minute and repeat 3 times
Level 3: Motor Control
Double leg Heel Raise over step: calf/soleus
In standing, with your heels over the edge of a step, drop your heels down, hold for 3 seconds and return to neutral (starting position). Repeat with knees bent to activate the soleus.
Once this is comfortable. Repeat the exercise dropping your heels down then pushing up onto your tip toes
Repeat 15-25 times, completing 3 sets
Inversion/Eversion with band through range
With a band fixed to a solid object and the outer part of your foot, apply tension to the band and slowly turn your foot outwards.
Do this with the foot going inwards.
Repeat 15 – 25 times, completing 3 sets
Step up
Stand facing a step of appropriate height. Put your injured leg on the step and step up by extending through your hip and knee, bringing the other leg through at a right angle. Keep the movement controlled as possible with your knee tracking over your second toe
Repeat 15-25 times, completing 3 sets
Squat with progression to unstable surface
With a band around your knees, select an appropriate weight. Perform a squat keeping your knees over your second toes, with your back straight and body weight evenly spread over both feet.
Repeat 15 – 25 times, completing 3 sets
Lunge with progression to unstable surface.
Standing tall, take a large step forwards with your injured leg and bend that knee until the opposite knee is approximately 5cm above the ground, then extend through the hip and knee to return to the starting position. Remember to keep your back straight throughout the movement.
Repeat 15 – 25 times, completing 3 sets
Supported dips
Standing on a step use a wall or chair for support and balance on the affected leg. With the good leg extended in front slowly bend the injured knee, ensuring the knee goes over the second toe, then extend back to the starting position. As you feel more confident in the movement, you can bend down further.
Hold for 5 seconds and repeat 15 – 25 times, completing 3 sets